Natural light is one of the most beautiful and versatile tools available to photographers. When used correctly, it can create stunning, emotionally charged images without the need for expensive lighting equipment. In this article, we'll explore the art of natural light photography and share tips to help you make the most of this incredible resource.
Understanding the Quality of Light
The first step in mastering natural light photography is understanding the different qualities of light you might encounter:
Hard Light vs. Soft Light
Hard light creates strong, defined shadows and high contrast. It's typically produced by direct sunlight on a clear day. While hard light can be challenging to work with, it can create dramatic, high-impact images with strong visual interest.
Soft light, on the other hand, produces gentle, diffused shadows and lower contrast. It's typically found on overcast days or in shaded areas. Soft light is generally more flattering for portraits and easier to work with for beginners.
 Left: Hard light creating strong shadows. Right: Soft light producing gentle, flattering illumination.
The Golden Hours
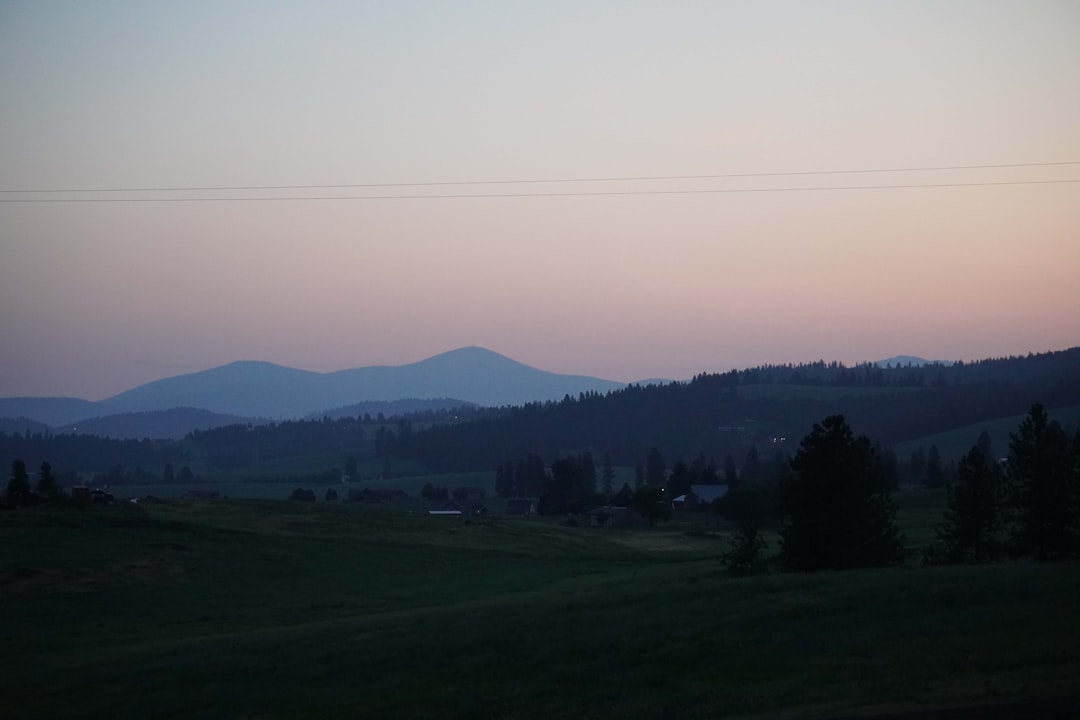
The "golden hours" refer to the period shortly after sunrise and before sunset when the sun is low in the sky. During these times, the light has several magical qualities:
- It's directional, creating interesting shadows and dimensionality
- It's warm in color, giving subjects a beautiful golden glow
- It's softer than midday sun, reducing harsh contrast
- It's perfect for backlighting, creating gorgeous rim lighting effects
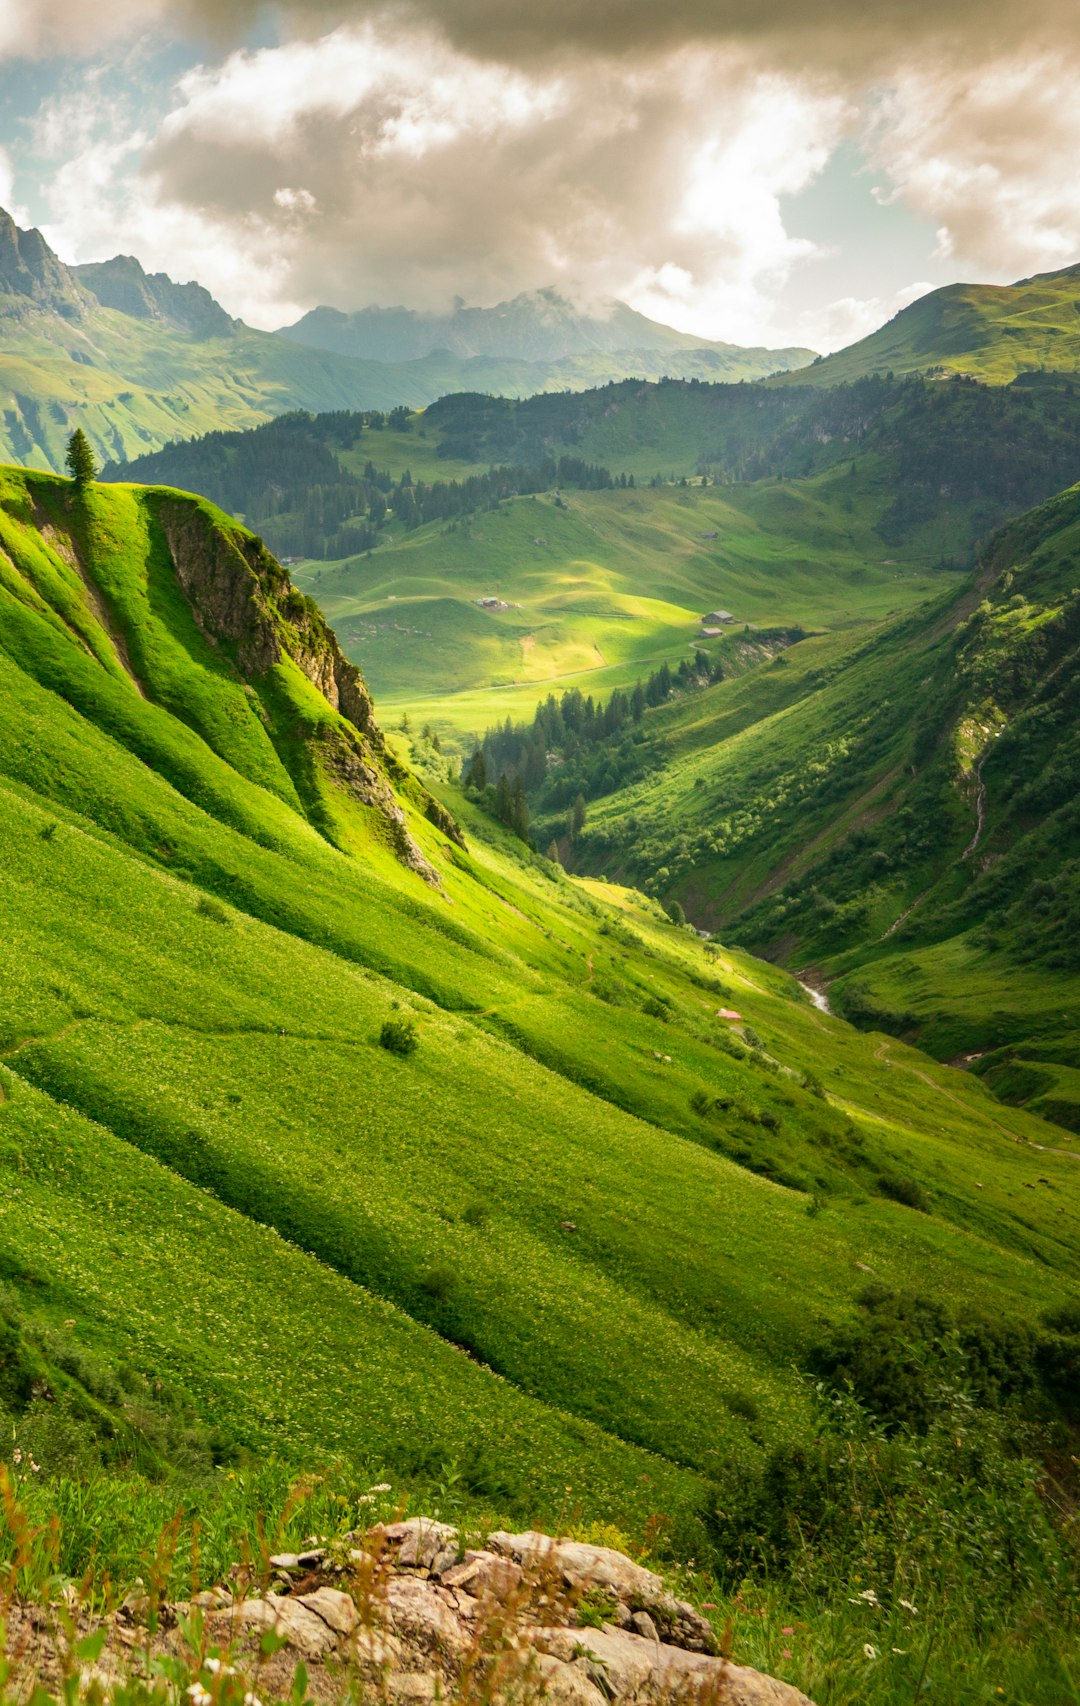
For landscape photographers, the golden hour provides dramatic lighting that enhances textures and creates depth. For portrait photographers, it offers a flattering, warm glow that can transform an ordinary portrait into something extraordinary.
 Portrait taken during golden hour, showing the warm, directional quality of light.
Working with Window Light
Window light is perhaps the most accessible form of natural light for indoor photography. A large window acts as a softbox, creating beautifully diffused light that's ideal for portraits, still life, and food photography.
To make the most of window light:
- Position your subject at a 45-degree angle to the window to create dimension with light and shadow
- Use reflectors (even a white sheet or foam board) to bounce light back into shadow areas
- Control the light with curtains or blinds to adjust its intensity
- Experiment with distance from the window - closer to the window means more dramatic lighting, further away means softer lighting
Dealing with Challenging Lighting Conditions
Not every situation presents ideal natural lighting. Here are some tips for handling challenging conditions:
Harsh Midday Sun
When shooting under the midday sun:
- Look for shade to create more flattering light
- Use a diffuser to soften the light (a translucent reflector or even a bed sheet can work)
- Position your subject with their back to the sun and use a reflector to bounce light onto their face
- Embrace the contrast for creative, dramatic shots
Overcast Days
Many photographers actually prefer overcast days because:
- The clouds act as a giant diffuser, creating soft, even light
- You can shoot all day, not just during golden hours
- Colors often appear more saturated without harsh sunlight
To make the most of overcast conditions, look for ways to add contrast to your images through composition, color, and subject matter.
Creative Techniques with Natural Light
Backlighting
Positioning your subject with the light source behind them can create a magical glow or rim lighting effect. This is particularly effective during golden hour. When backlighting:
- Use spot metering on your subject's face to avoid silhouettes (unless that's your goal)
- Use a reflector to bounce light back onto your subject
- Be mindful of lens flare - sometimes it can be a creative element, other times you'll want to avoid it
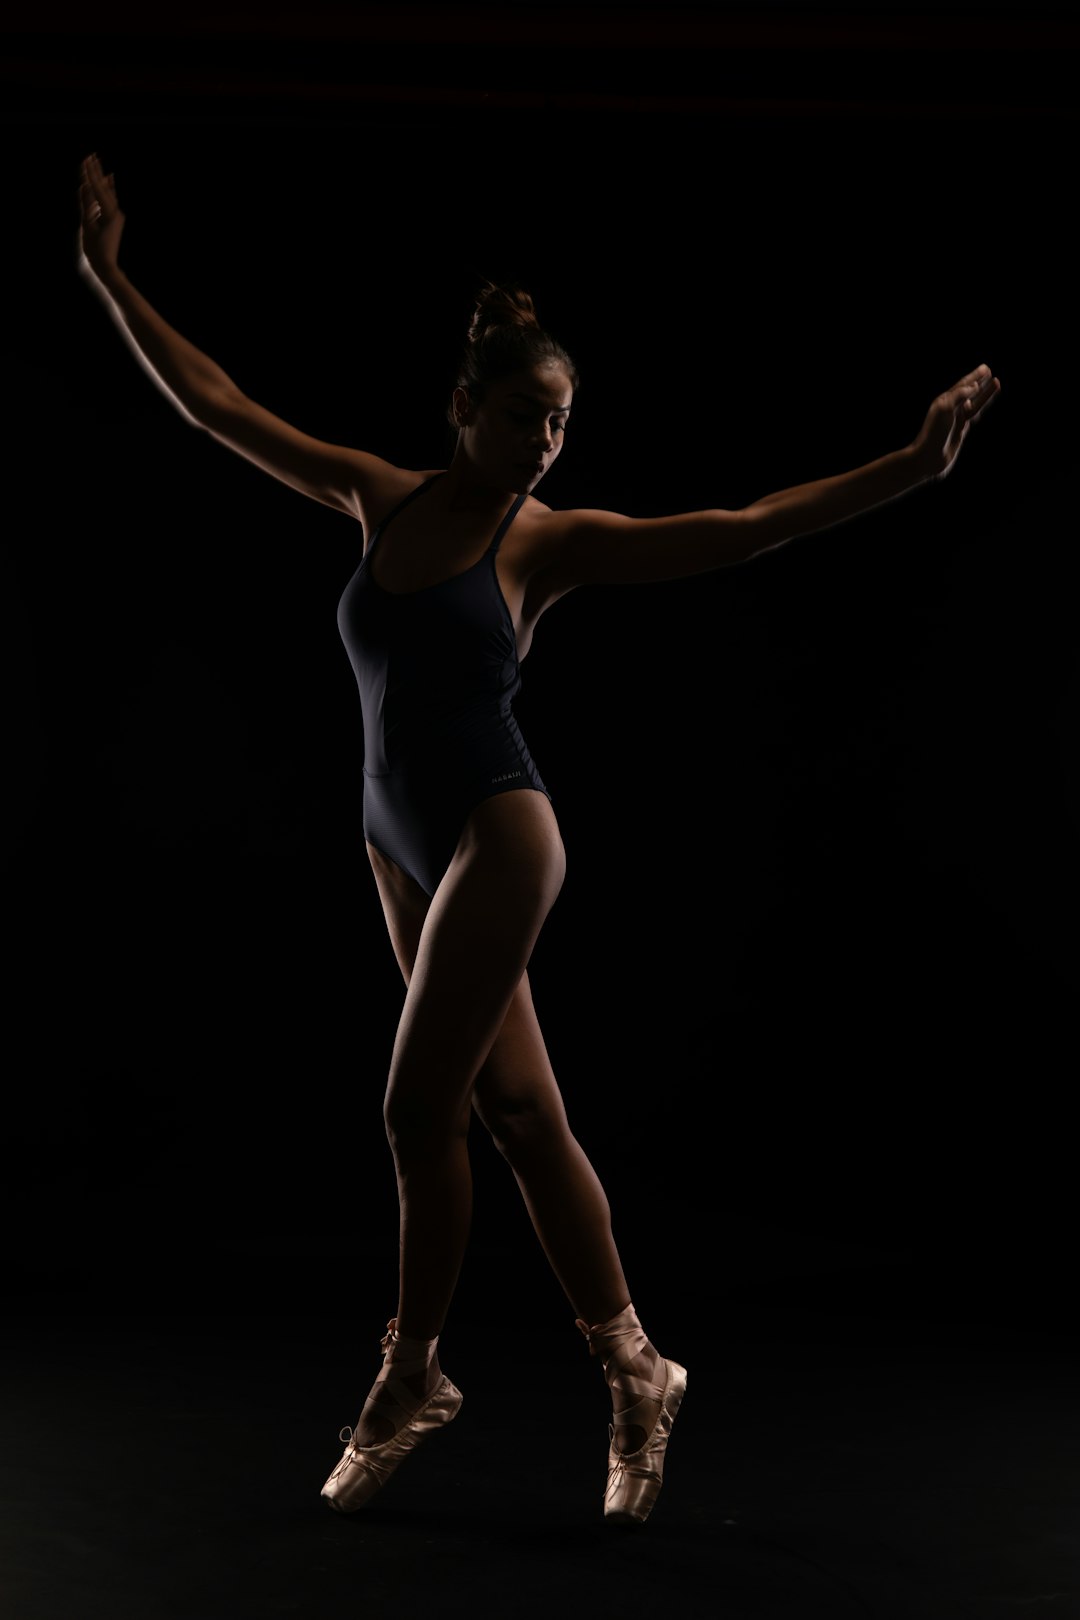
 Backlighting creates a beautiful rim light effect around the subject.
Dappled Light
Dappled light (patches of light coming through trees or other structures) can be challenging but also uniquely beautiful when used intentionally. When working with dappled light:
- Look for larger patches of light or shadow to place your subject in
- Use it for creative effect rather than fighting against it
- Consider converting to black and white to emphasize the pattern of light and shadow
Essential Equipment for Natural Light Photography
While natural light photography requires less equipment than studio photography, a few tools can help you make the most of available light:
- Reflectors to bounce light into shadow areas
- Diffusers to soften harsh light
- A lens hood to reduce flare when shooting toward the light
- Polarizing filters to reduce reflections and enhance colors, especially useful for landscape photography
Conclusion
Mastering natural light photography is a journey that requires practice, observation, and patience. By understanding the qualities of light and how they change throughout the day and in different weather conditions, you'll develop an intuitive sense for how to use light to create beautiful images.
Remember that rules are meant to be broken in creative photography. While these guidelines can help you understand natural light, don't be afraid to experiment and develop your own unique approach to working with this magical element of photography.